Once you have created a curve group, you can add interest interest rate volatility surfaces to it.
On this page, we will discuss how to:
- create (or edit when existing) an IR volatility surface, by selecting an option underlying and defining various model and interpolation parameters
- add an ATM swaption matrix, by adding option expiries and tenors (optional)
- add a swaption skew configuration, by adding moneyness (optional)
- add a Cap/Floor strike matrix, by adding strike points (optional)
IR Volatility Surface Configuration
Permissible values for IR volatility surfaces can be found on the IR Volatility Surface Permissible Values page.
Part of our ‘NEW CURVE GROUP’ example that replicates the ‘LONDON’ curve group, this page will guide you through the process of defining a IR volatility surface using two examples: manually defining the ‘USD SOFR’ volatility surface with a 1Y into 5Y point, 100 bps skew and a 5% cap/floor strike, or importing all the data. You can download the example .CSV data import files here.
You can also add other types of curves and volatility surfaces to the curve group. Once all required items have been added, you can move on to curve configuration.
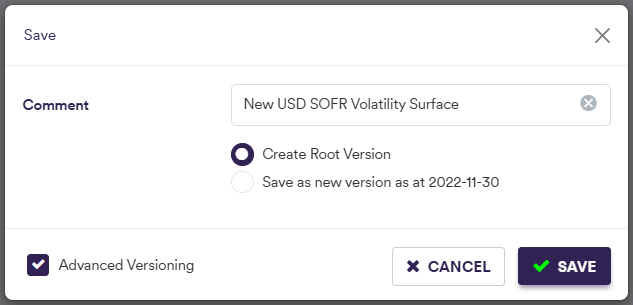
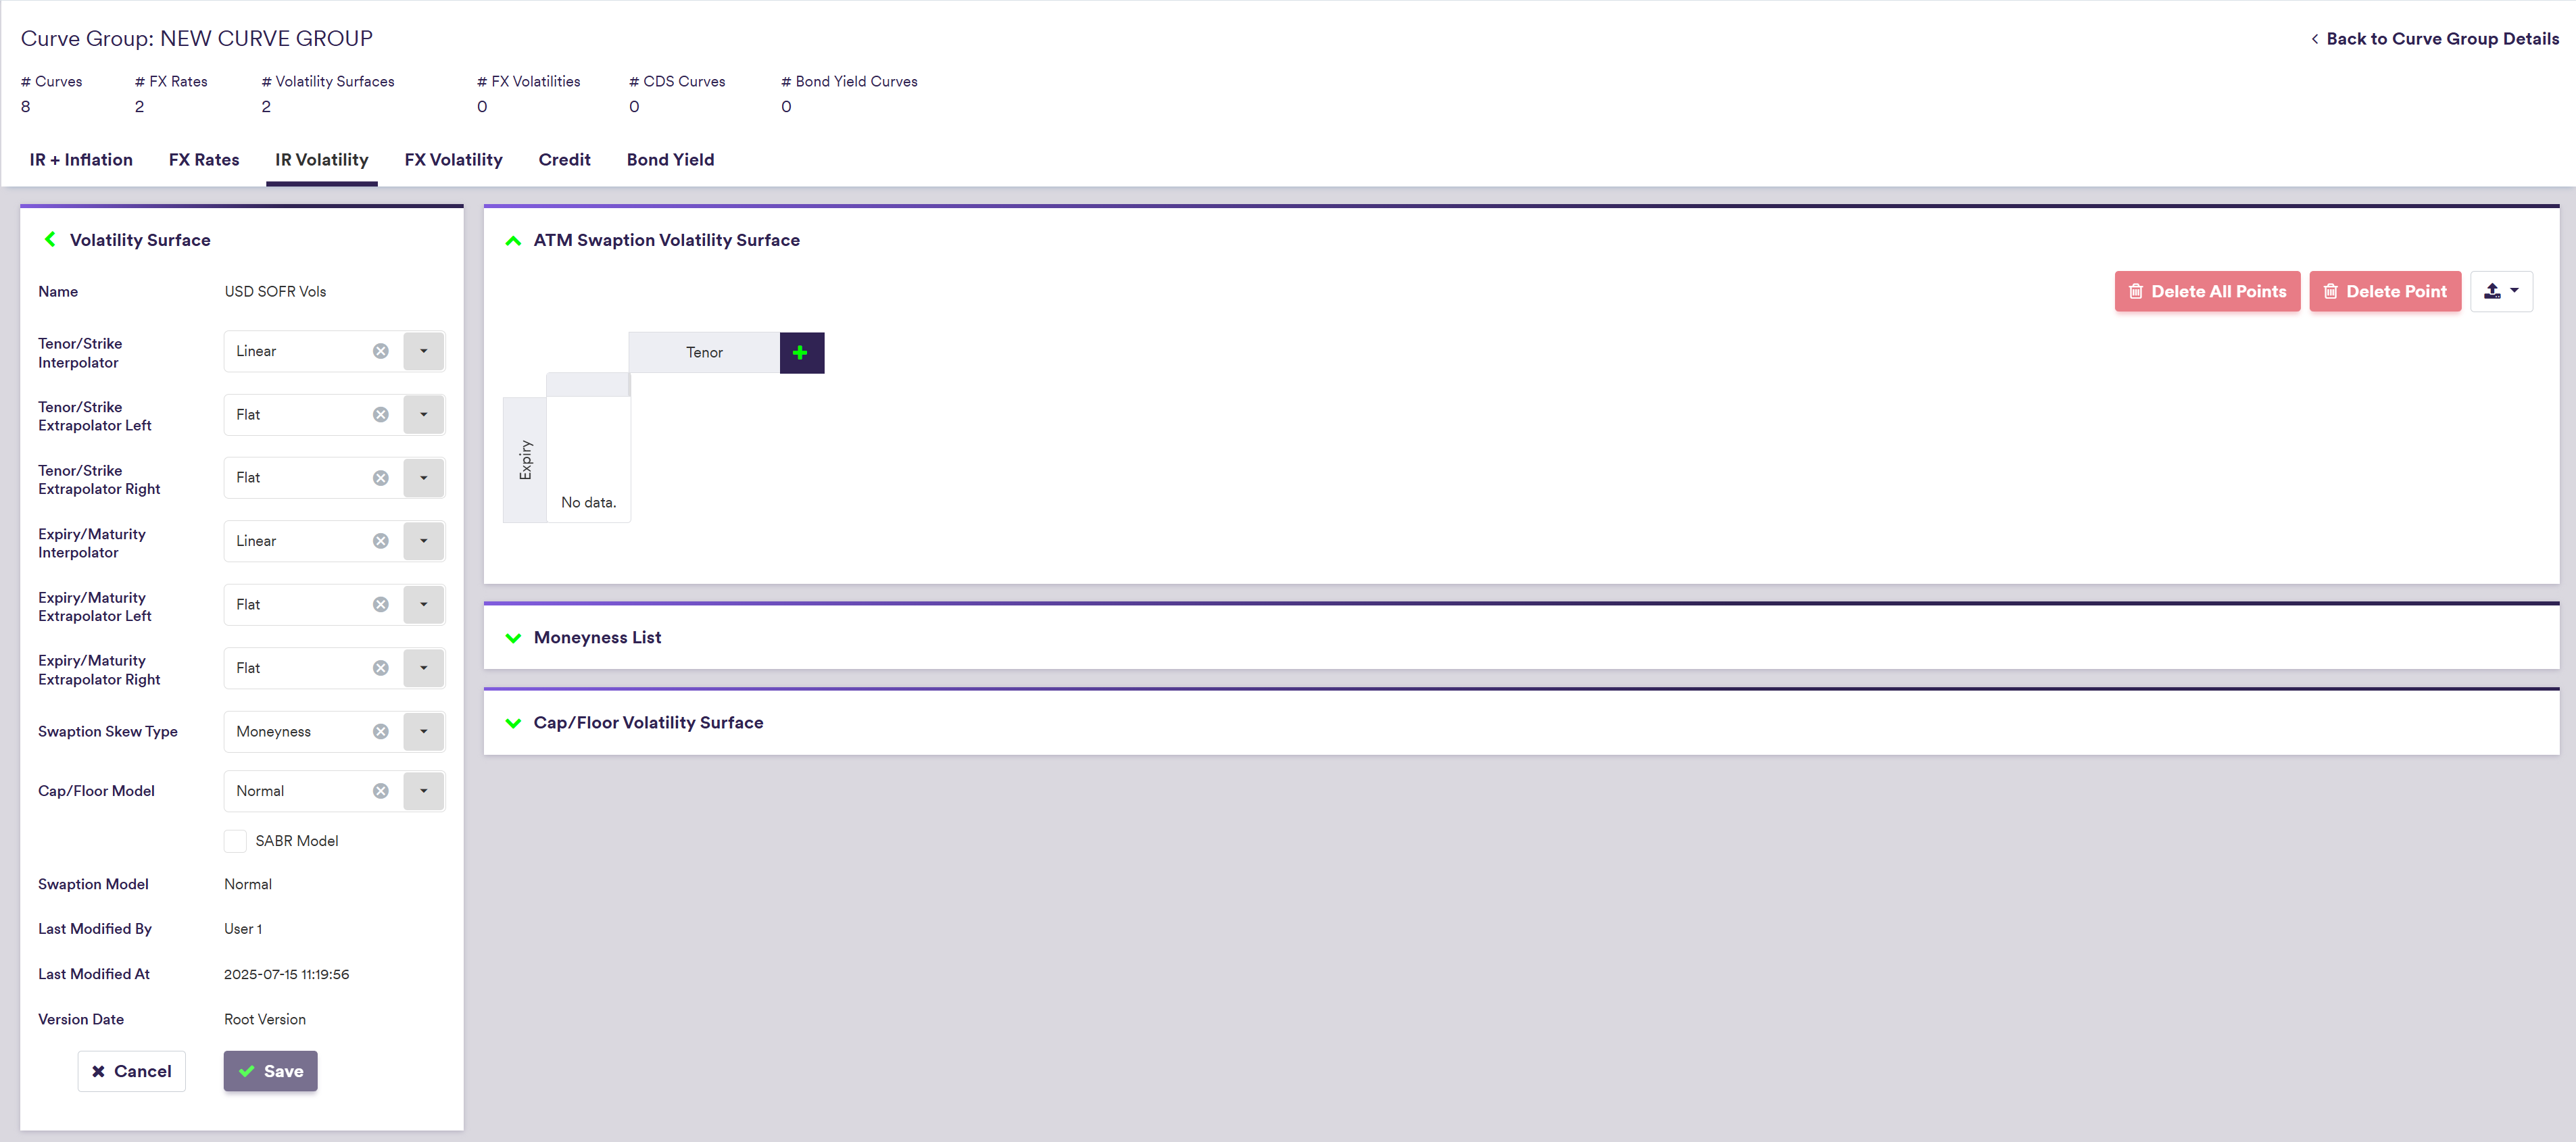
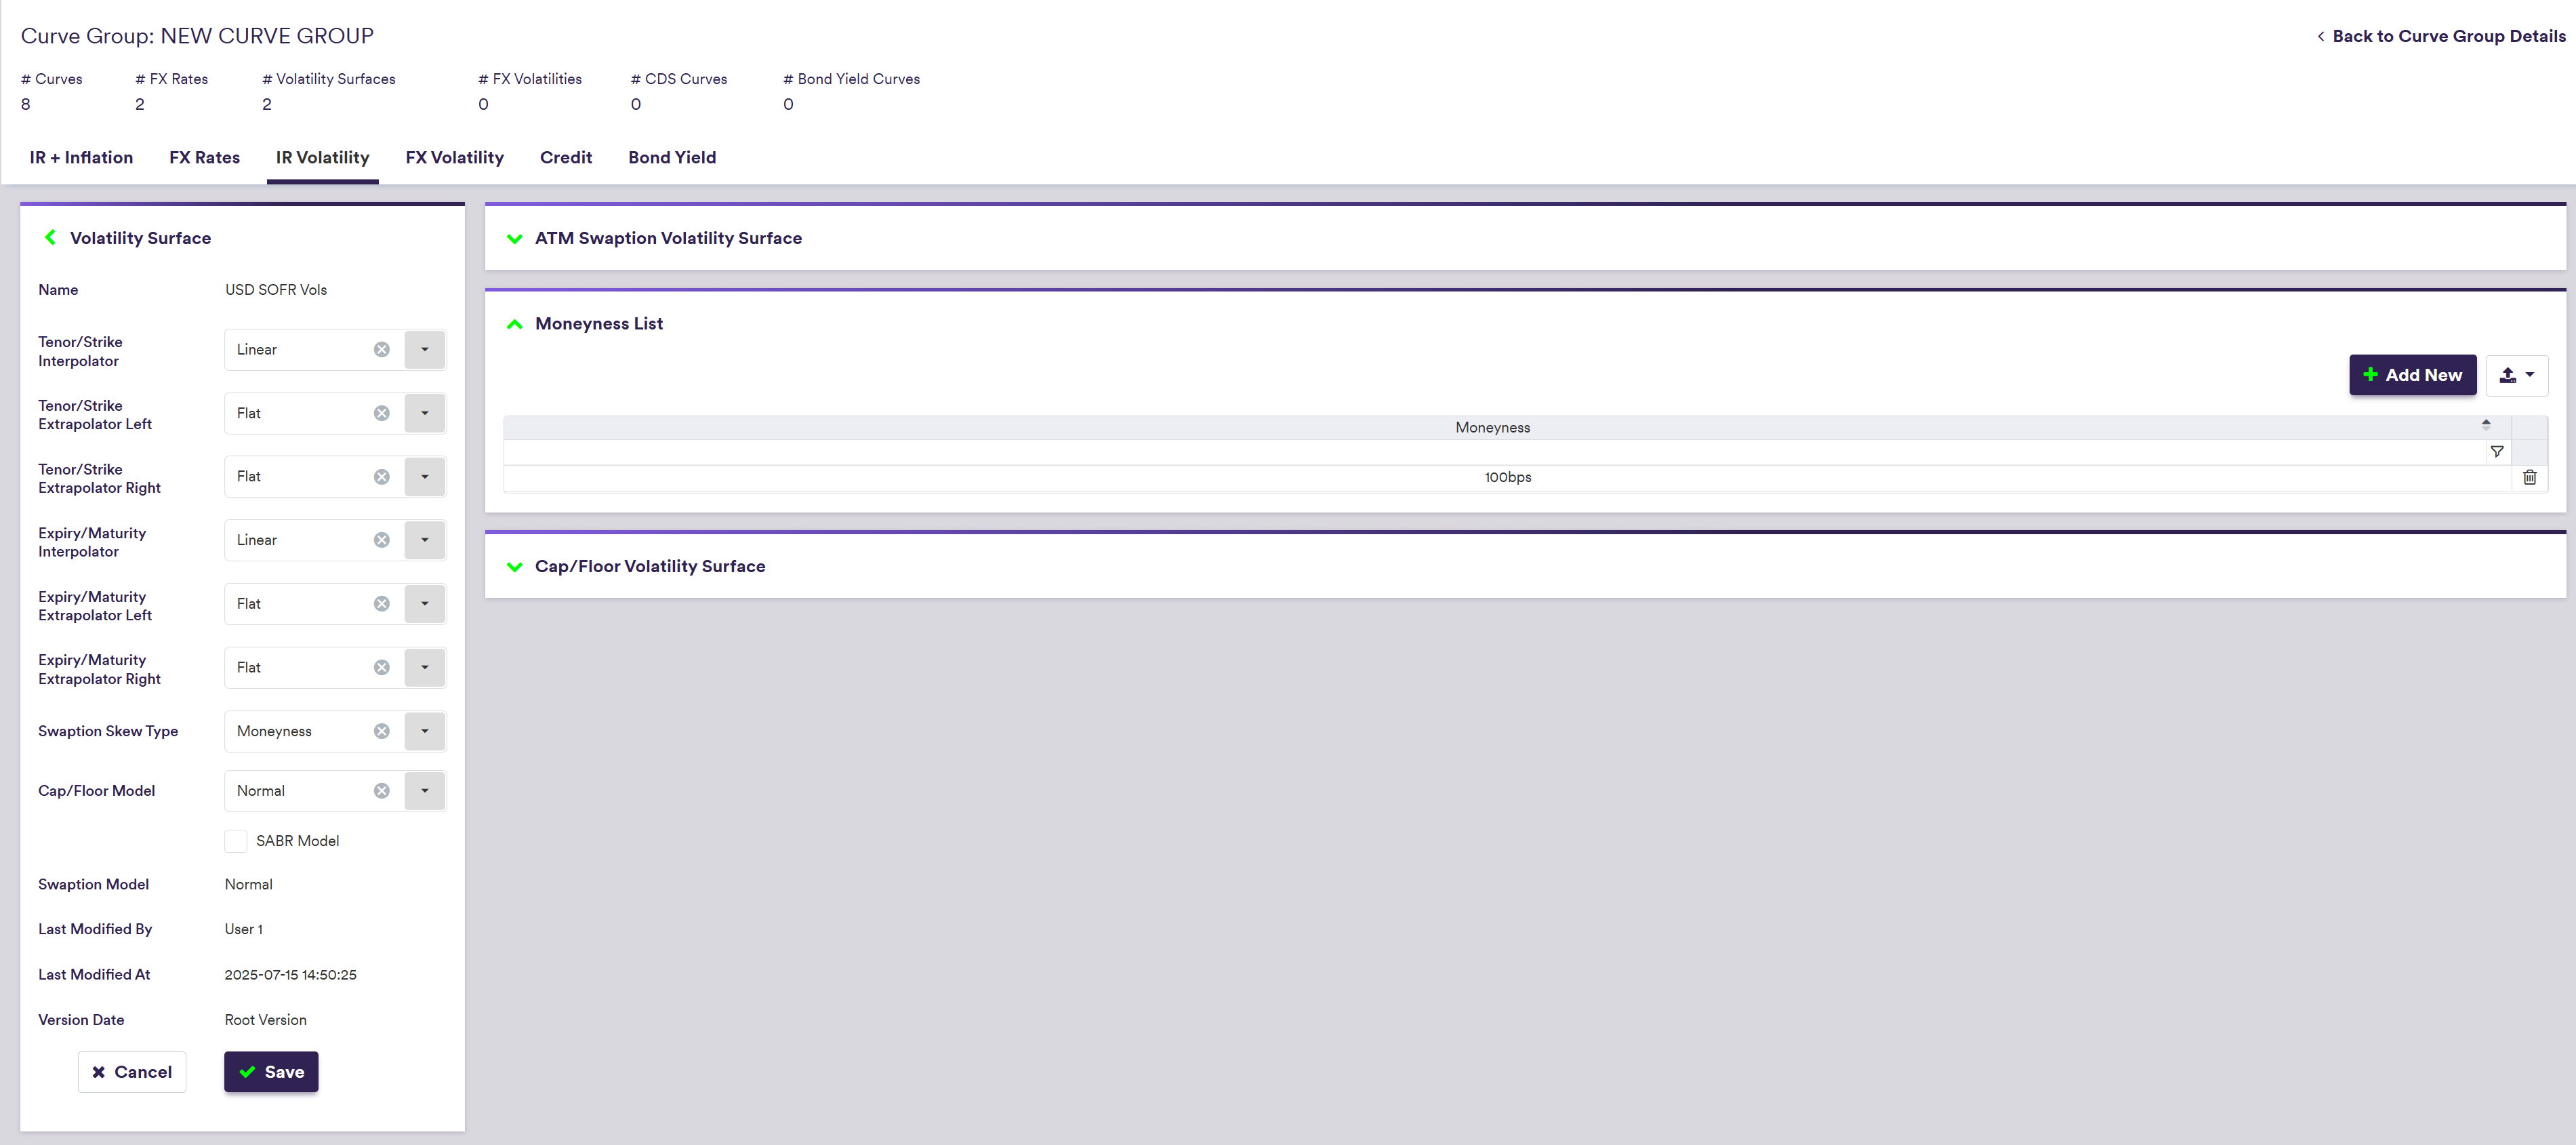
1. Creating a Volatility Surface
Under

To manually create a volatility surface, click on
selecting the interpolation and extrapolation settings,
Swaption Skew Type = Moneyness and Cap/Floor Model = Normal


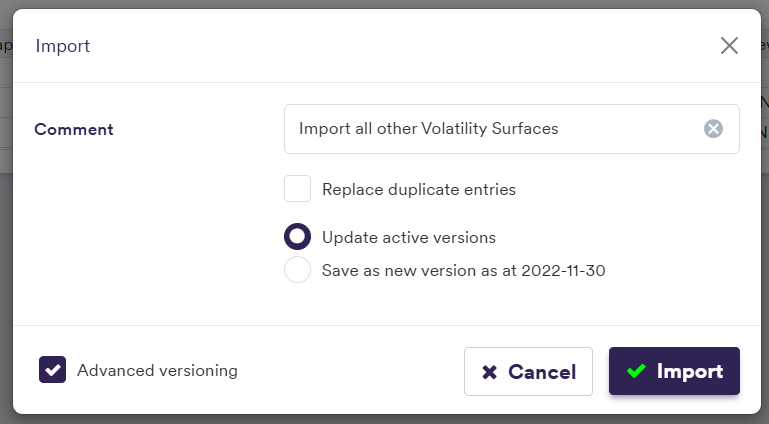
To import a volatility surface (or a list of volatility surfaces), click on and select the relevant volatility surface list definition .CSV import file.
You can download the import file template here ![]() .
.

| Field Name | Description | Permissible Values |
|---|---|---|
| Name |
The volatility surface's name The underlying projection index must correspond to an IR_INDEX curve |
Curve Name & “ Vols” e.g. EUR ESTR Vols See list of permissible values |
| Expiry/Maturity Interpolator | Interpolation methodology for swaption expiry and cap/floor maturity |
e.g. Linear See list of interpolators |
| Expiry/Maturity Extrapolator Left/ Right | Extrapolation methodology for swaption expiry/capfloor maturity |
e.g. Flat See list of extrapolators |
| Tenor/Strike Interpolator | Interpolation methodology for swaption tenor and cap/floor strike |
e.g. Linear See list of interpolators |
| Tenor/Strike Extrapolator Left/ Right | Extrapolation methodology for swaption tenor/capfloor strike |
e.g. Flat See list of extrapolators |
| Swaption Skew Type | ATM volatilities only | Moneyness skew | Absolute strike skew | ATM_ONLY | MONEYNESS | STRIKE |
| Cap/Floor Model | Cap/floor valuation model | NORMAL | BLACK |
| SABR Beta | SABR Beta (optional) | Numeric. 0≤ β ≤ 1 |
| SABR Shift | The shift to calibrate the shifted SABR model (optional) | Numeric |
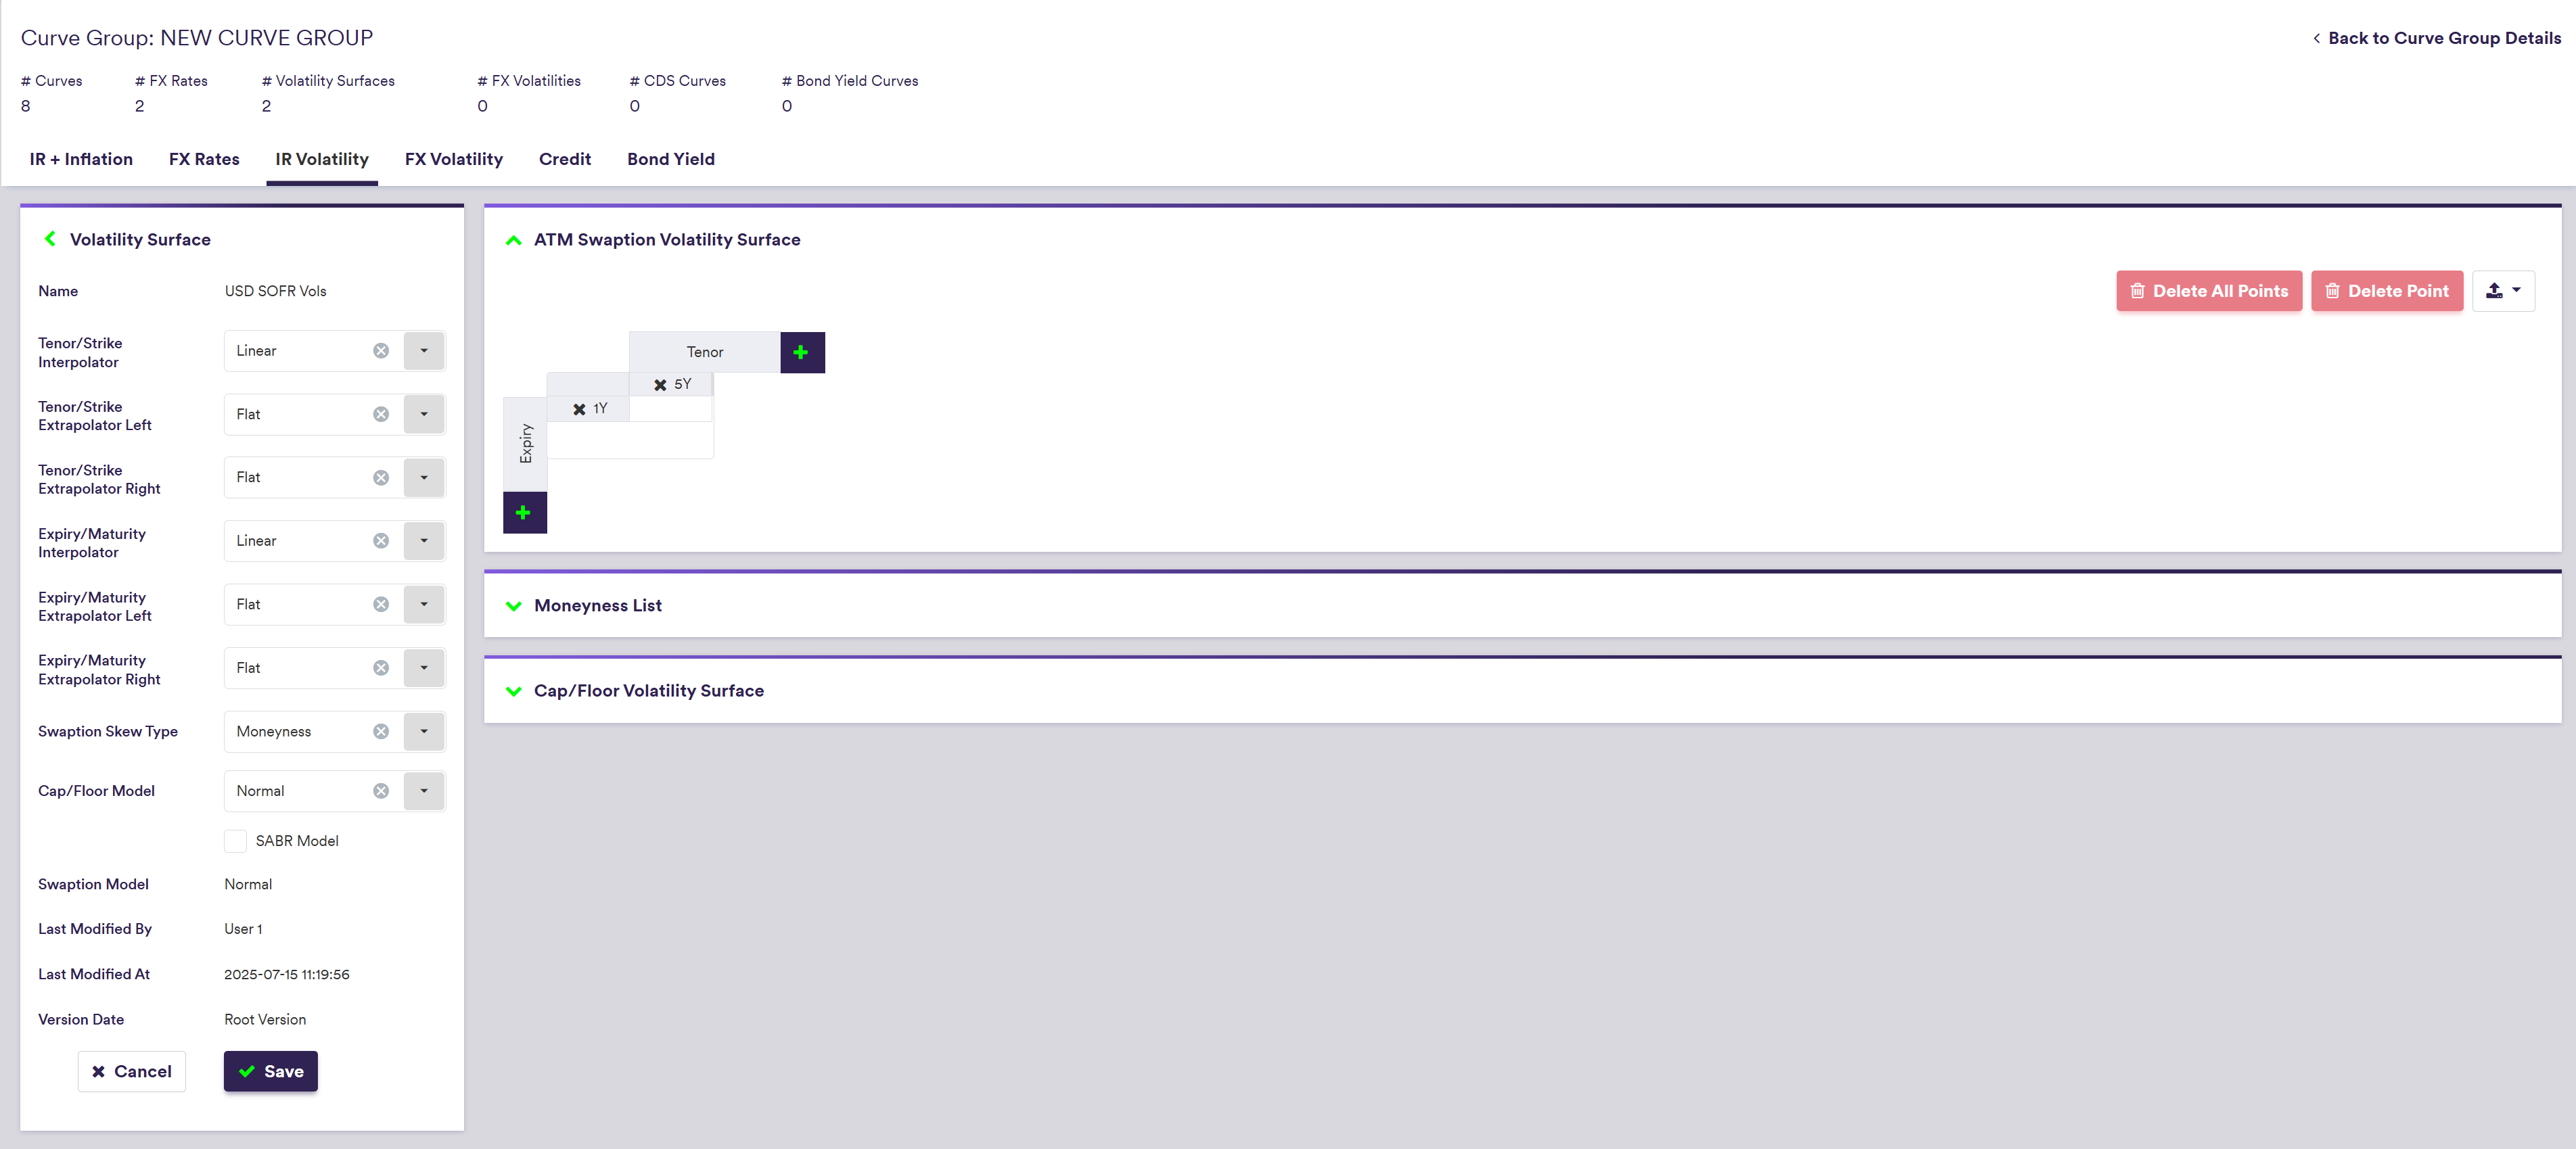
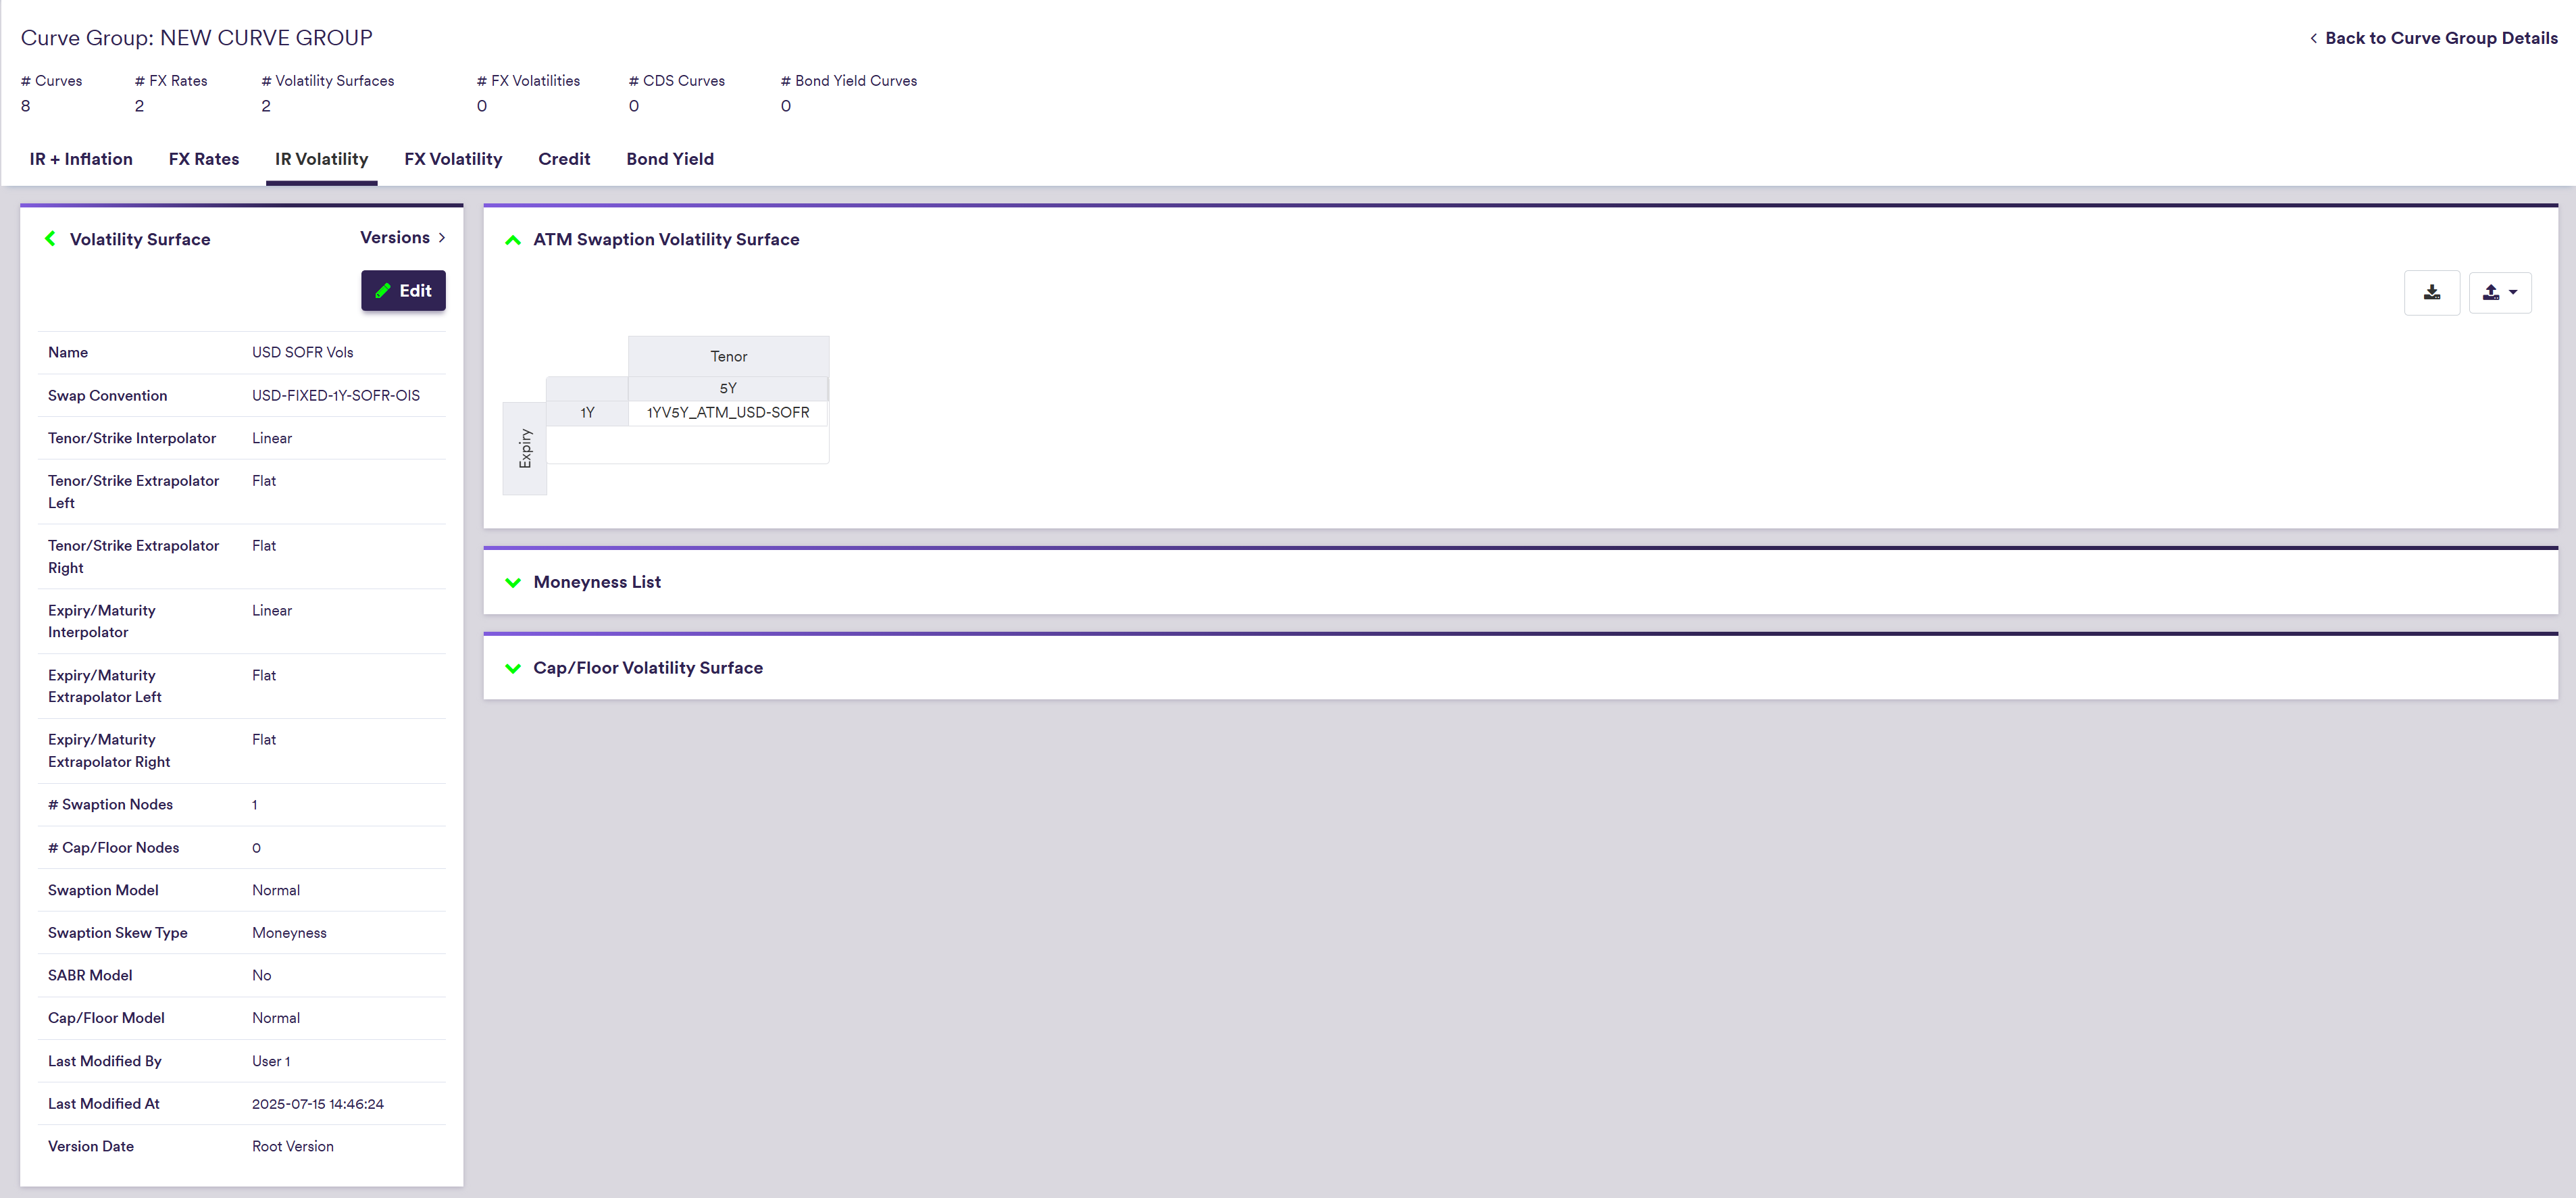
2. Adding ATM Swaption Points
Under
To manually edit you volatility surface, click on

If the ATM swaption volatility surface is empty, adding a new Tenor (Expiry) will automatically associate it to a 1Y Expiry (Tenor).

To import an ATM Swaption Point (or a list of swaption points), click on and select the relevant curve list definition .CSV import file.
You can download the import file template here ![]() .
.
The import example below is performed at the volatility surface level but in practice, the ATM swaption point import should be performed at the IR volatility surface list level (i.e. across all IR volatility surfaces).

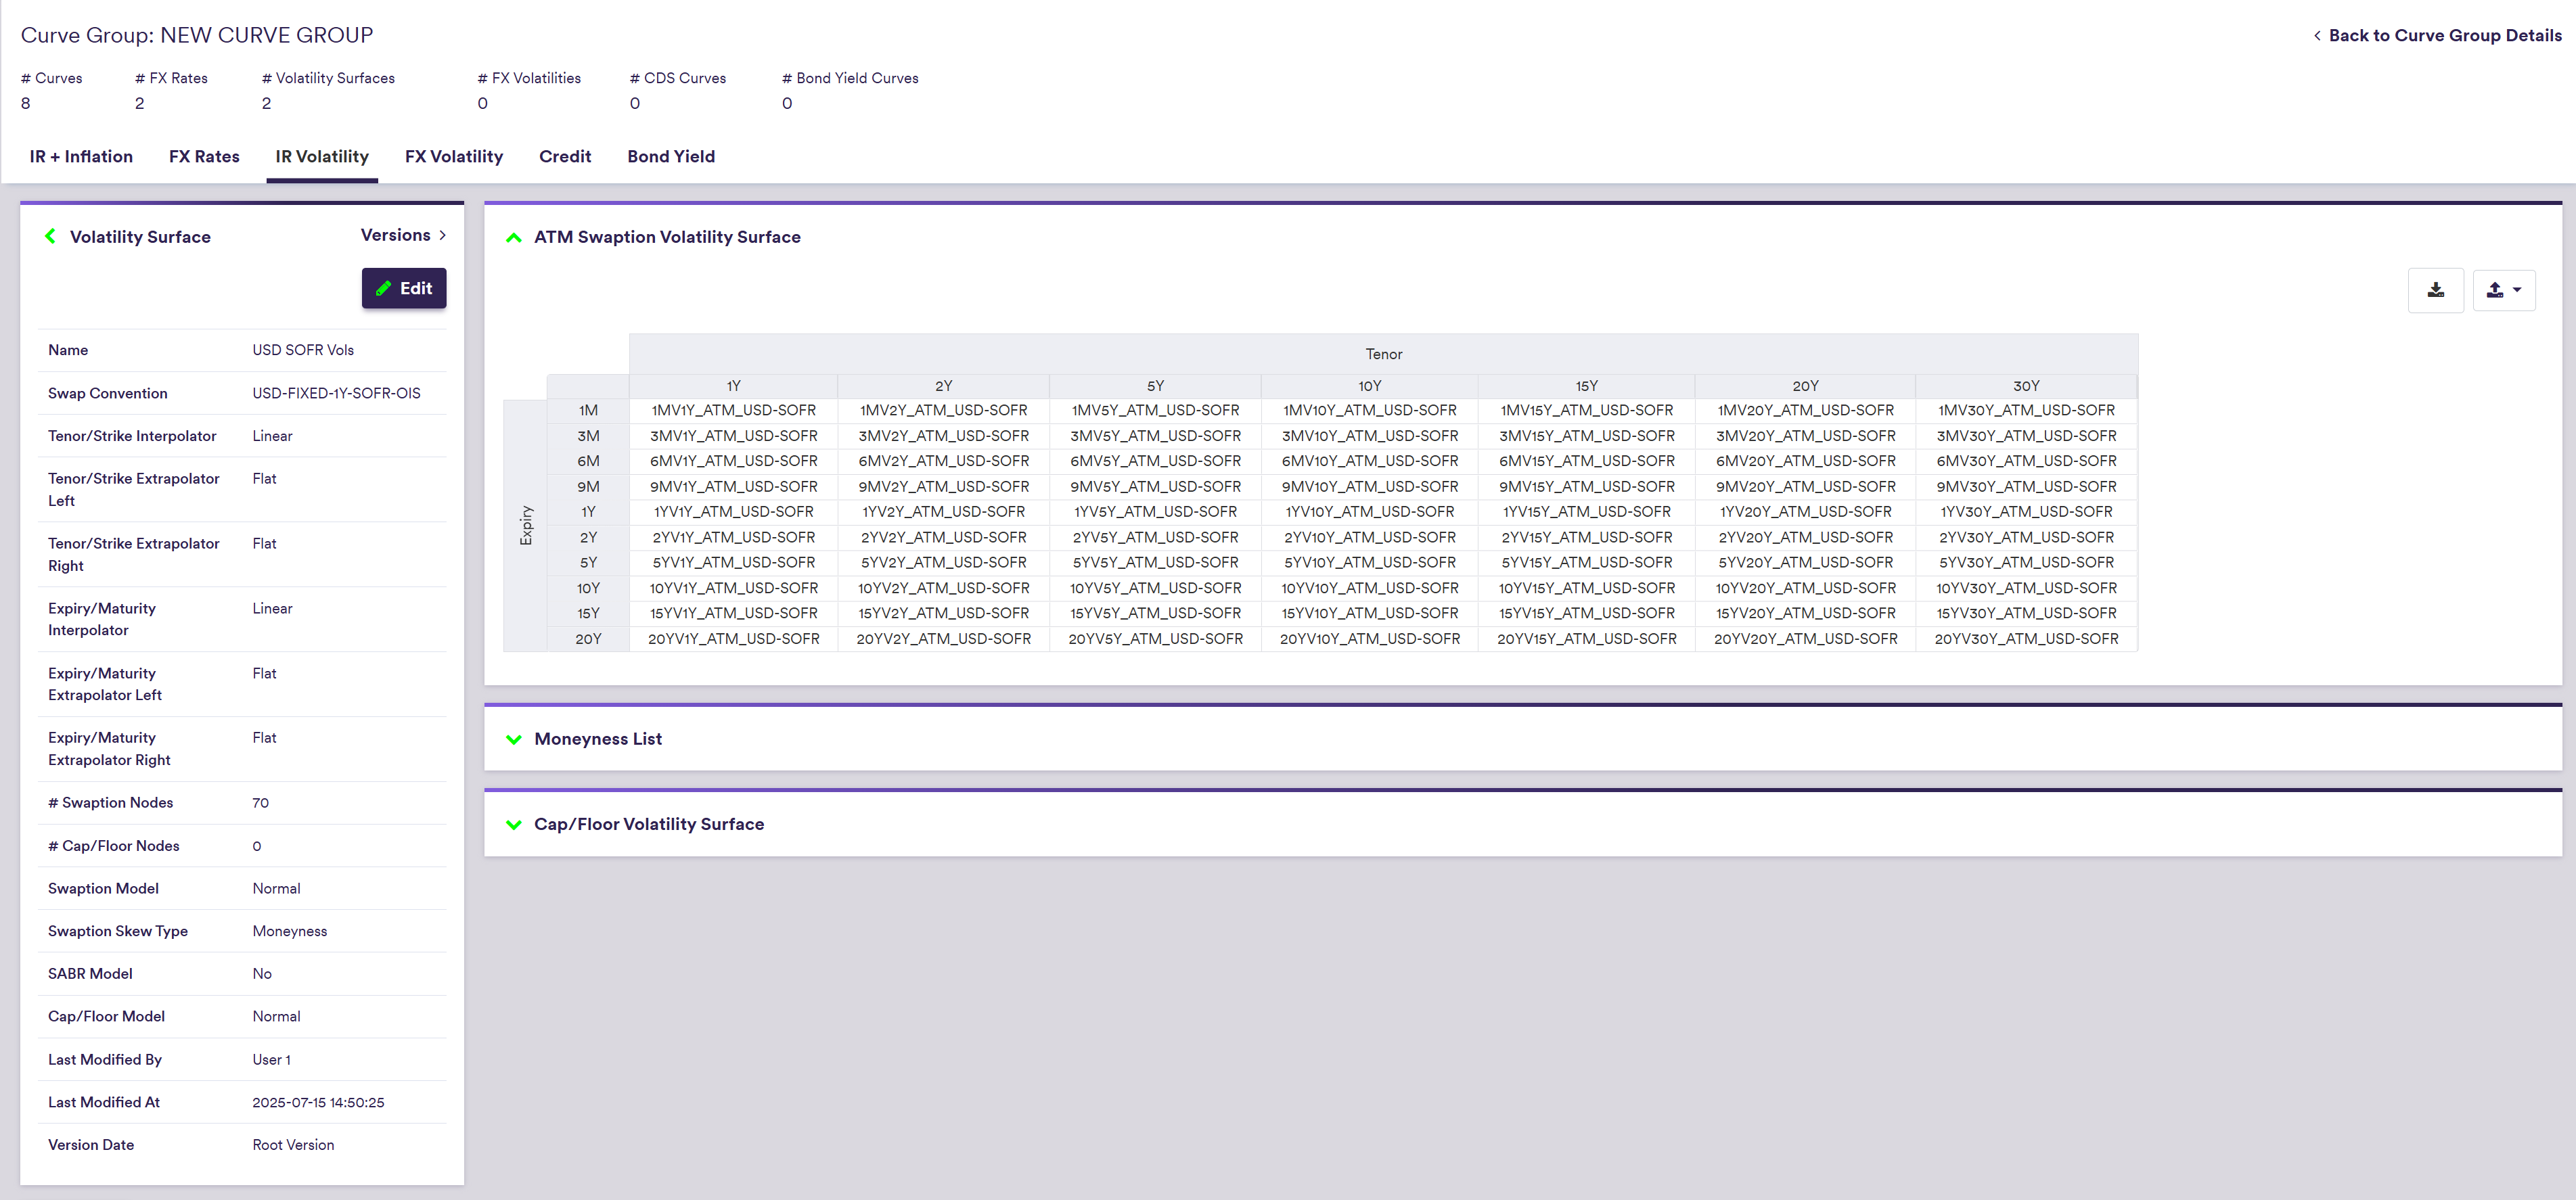
It does not have to be a full matrix (i.e. all expiries vs. all tenors). The same configuration will automatically be applied to the corresponding skew surfaces (if any).
A description of an ATM swaption point’s attributes and corresponding permissible values are set out in the table below.
| Field Name | Description | Permissible Values |
|---|---|---|
| Tenor | The swaption point’s tenor | Any tenor/expiry (e.g. 3M, 10Y) |
| Expiry | The swaption point’s expiry | Any tenor/expiry (e.g. 3M, 10Y) |
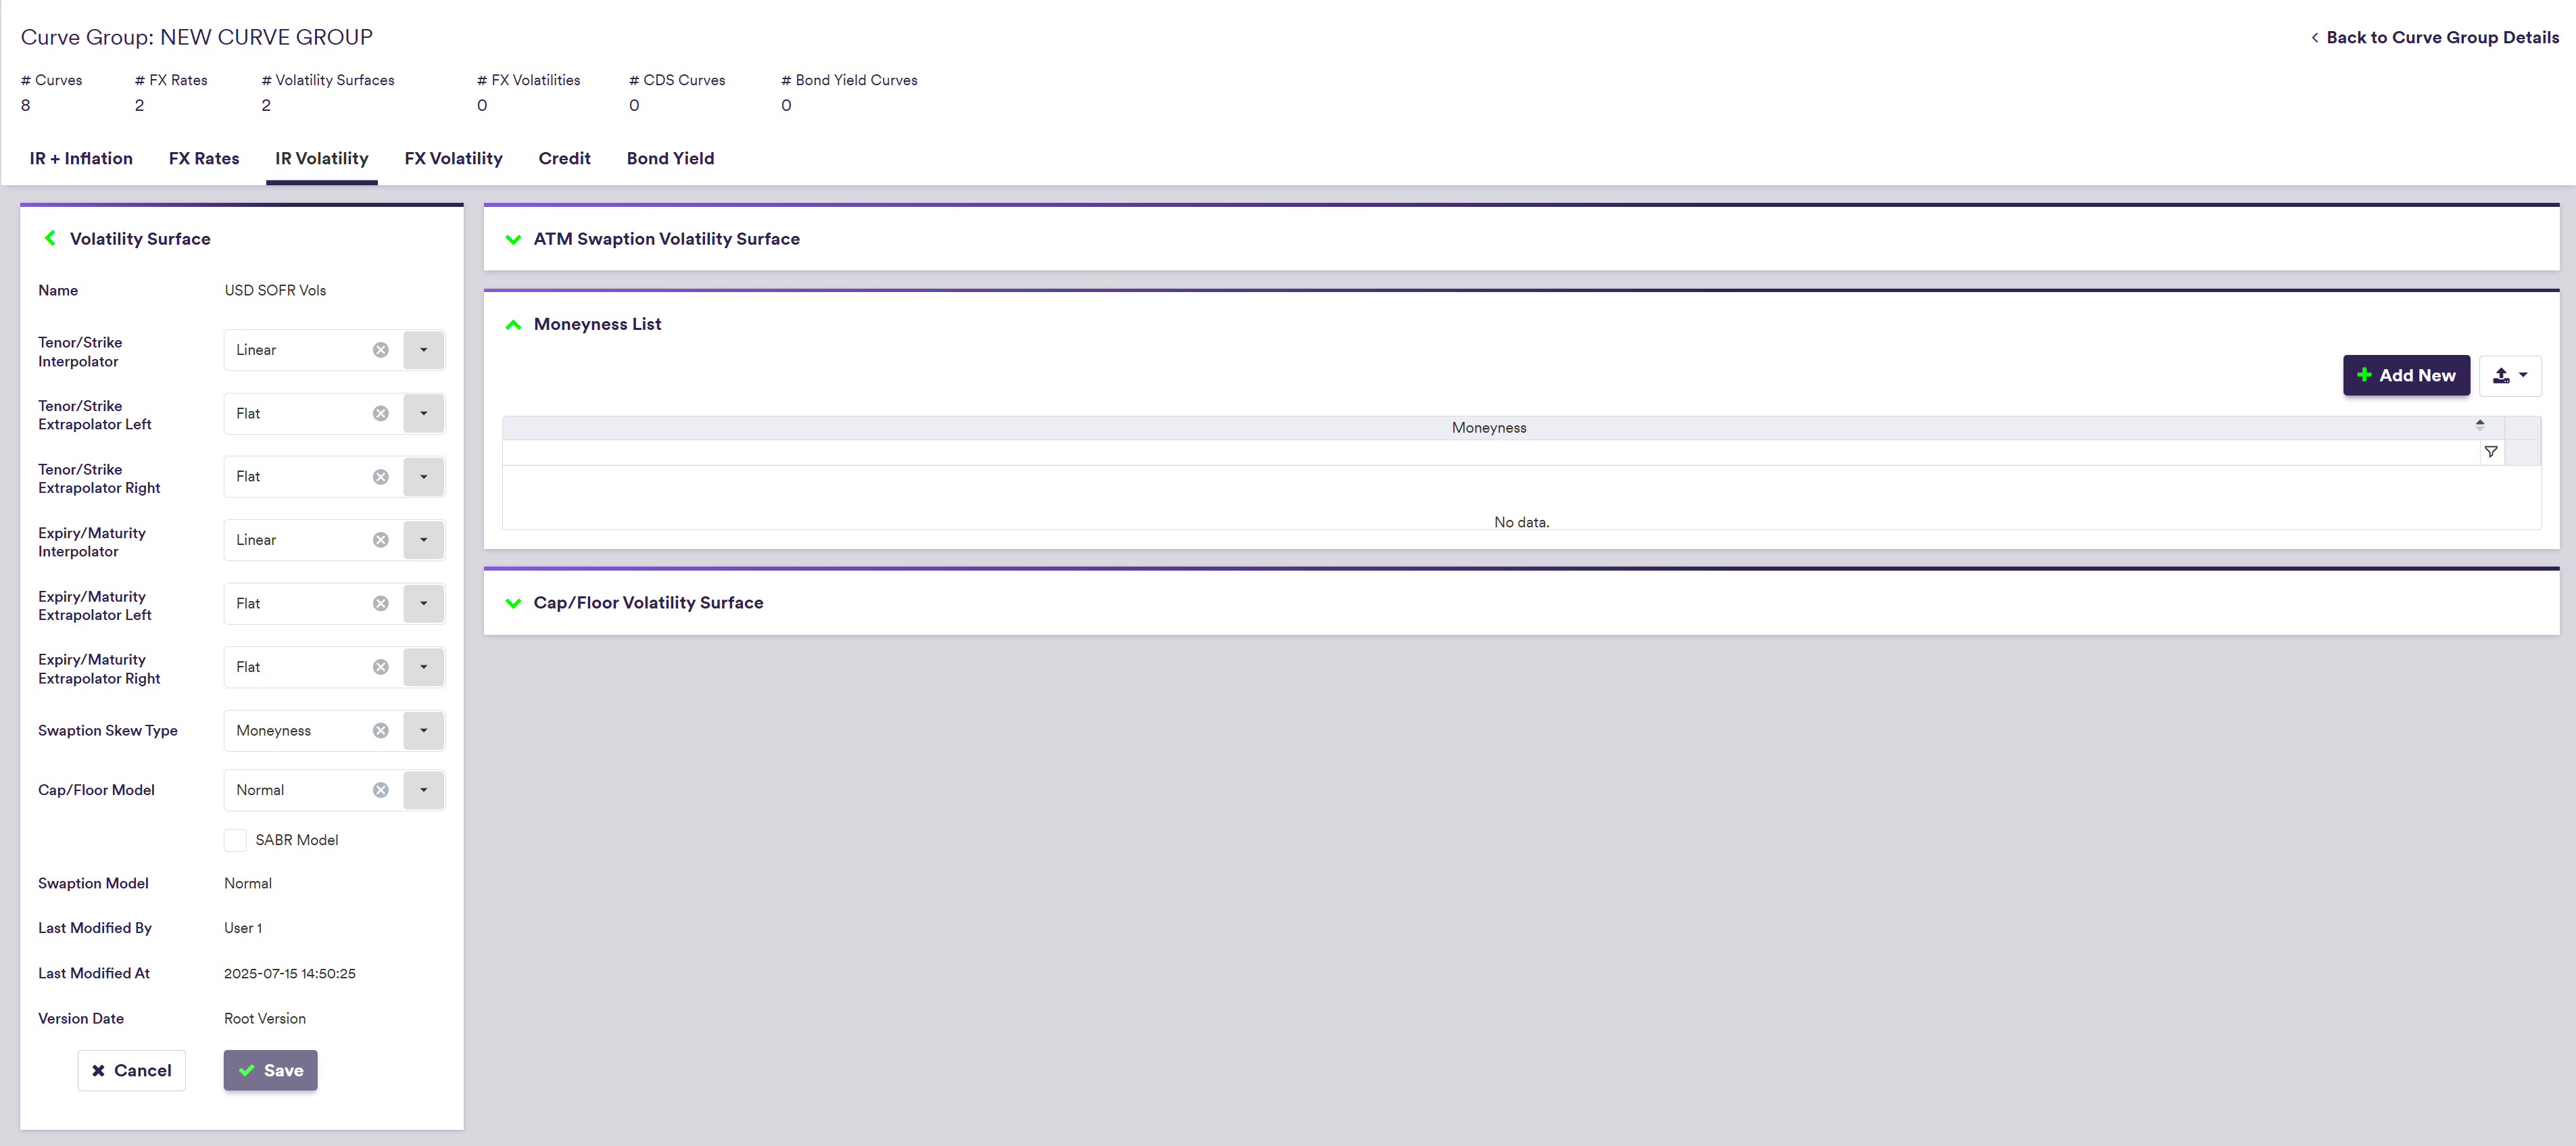
3. Adding Swaption Skew Configuration
Under
To manually edit your volatility surface, click on


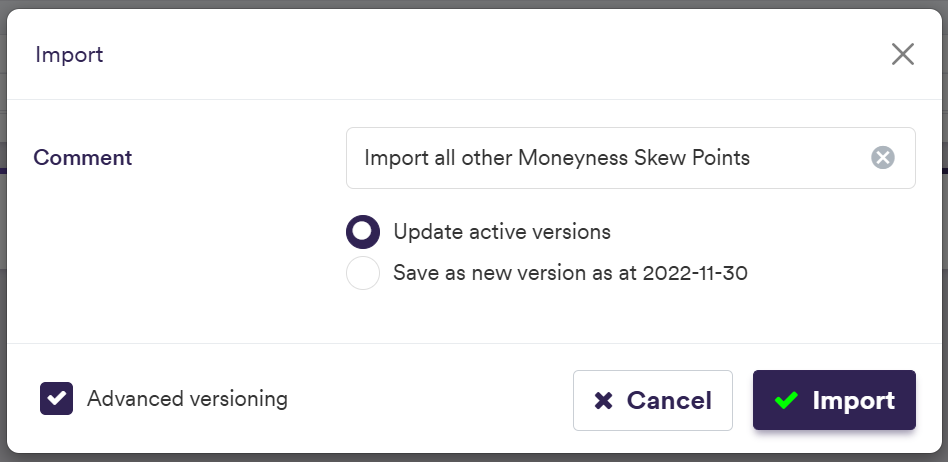
To import a swaption skew configuration, click on and select the relevant .CSV import file.
You can download the import file template here ![]() .
.
The import example below is performed at the volatility surface level but in practice, the swaption skew import should be performed at the IR volatility surface list level (i.e. across all IR volatility surfaces).
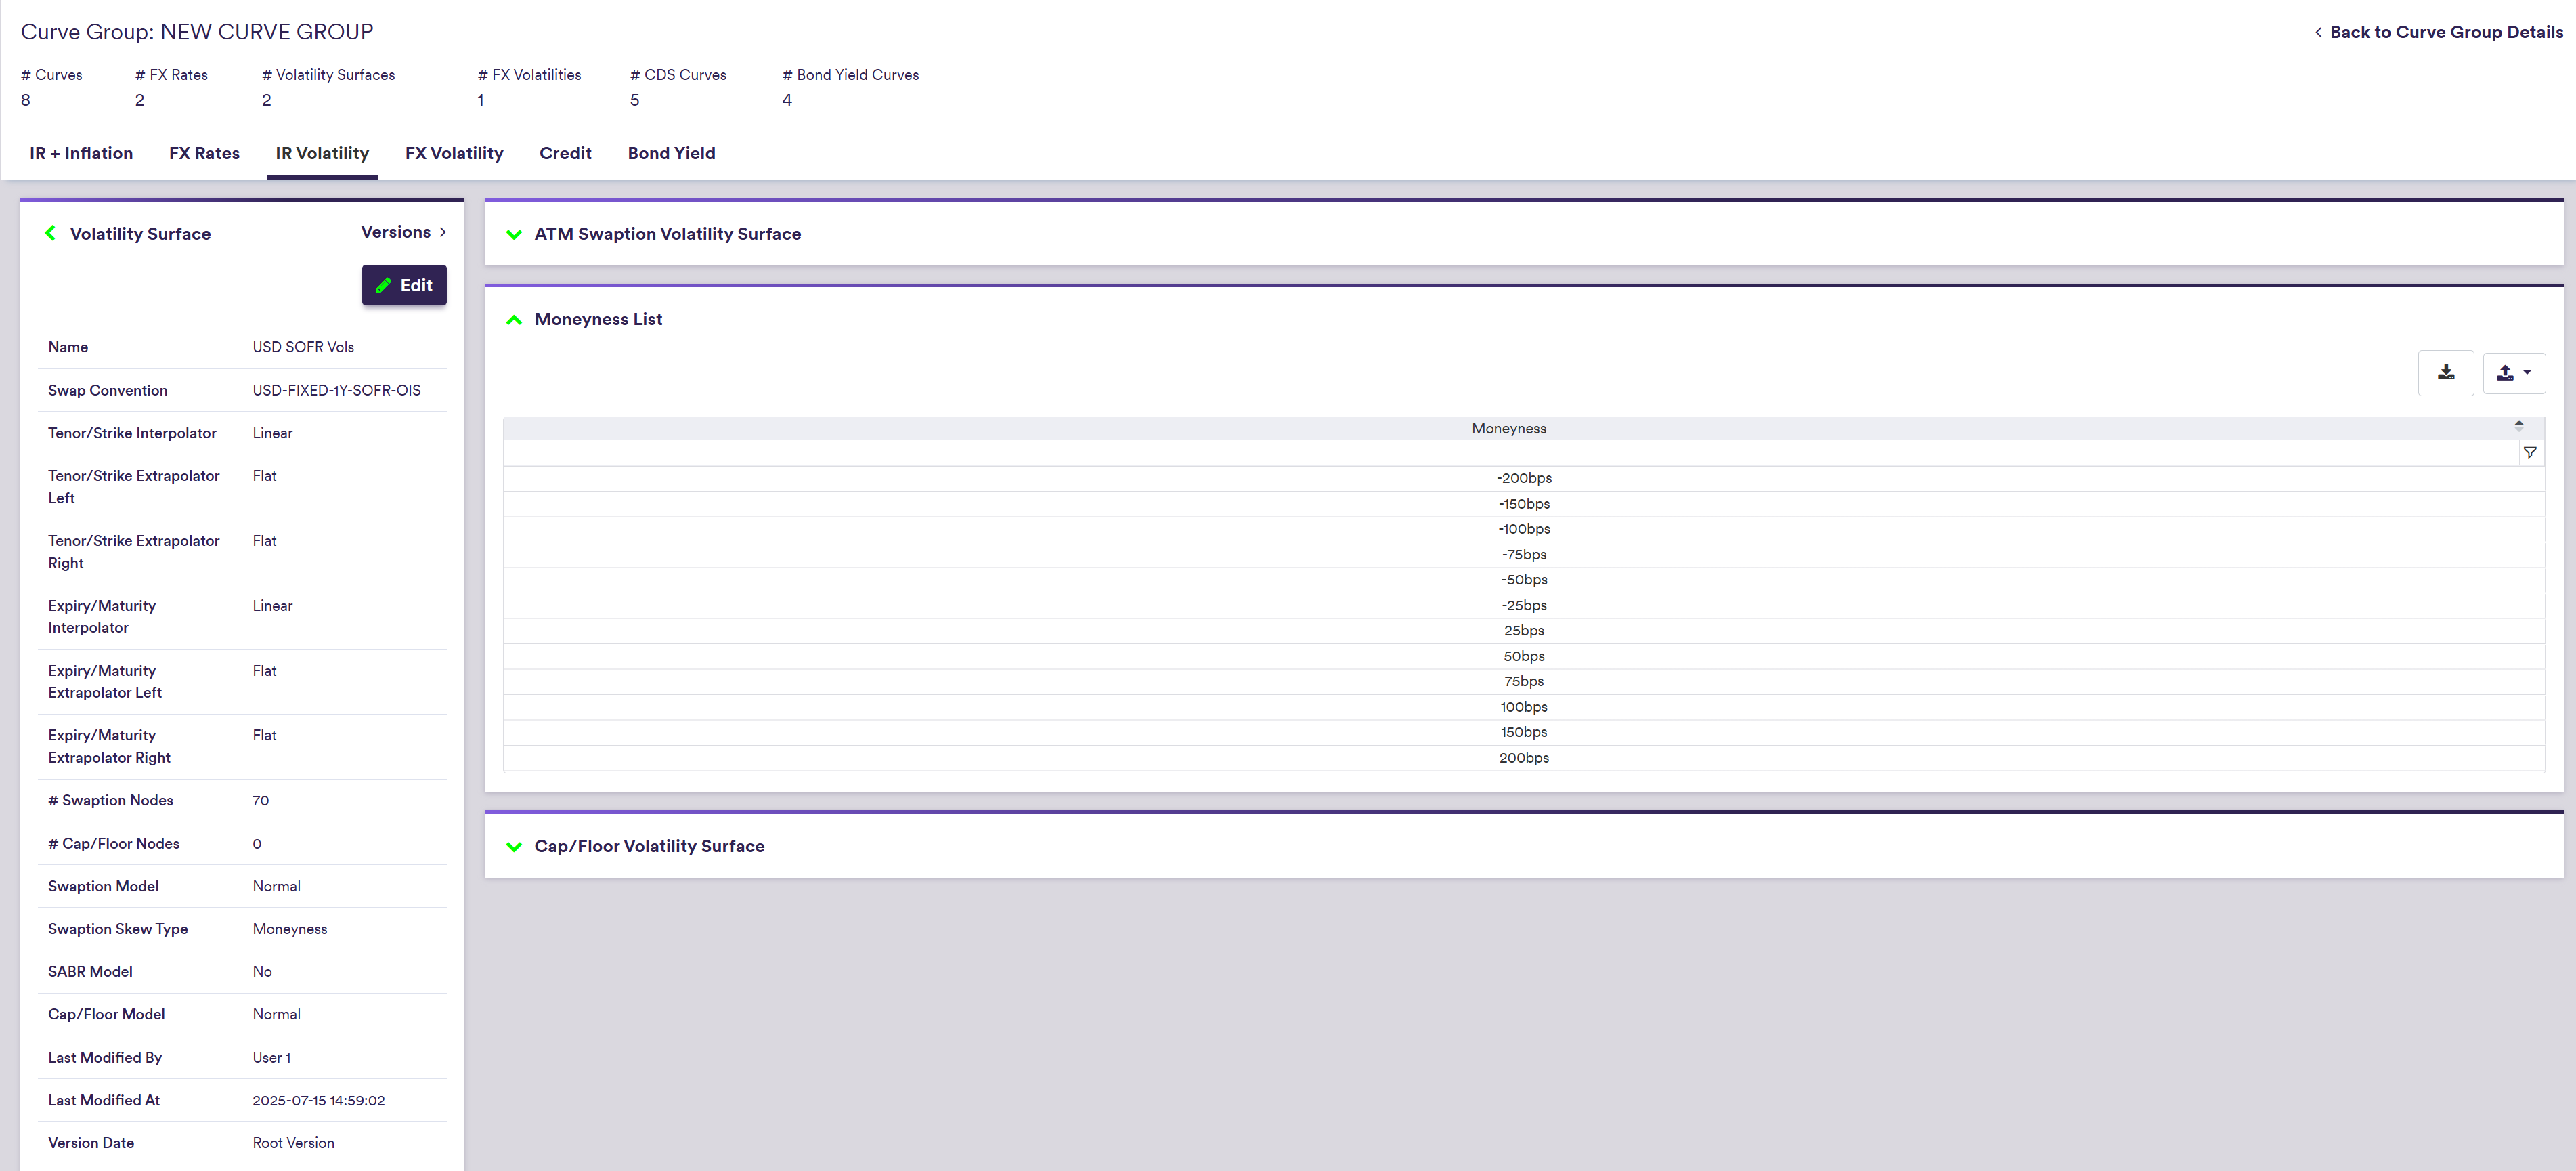
The skew matrix configuration will automatically be inherited from the corresponding IR ATM swaption matrix.
A description of a swaption skew’s attributes and corresponding permissible values are set out in the table below.
| Field Name | Description | Permissible Values |
|---|---|---|
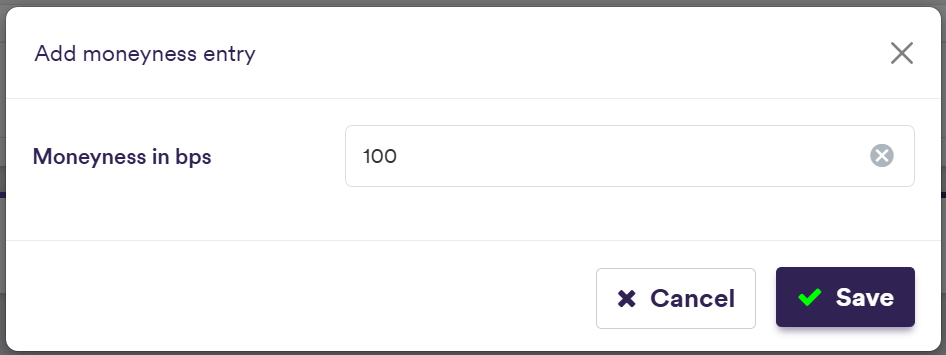
|
Moneyness (in bps) Strike (in %) | Skew value (moneyness or strike, as applicable) |
Numeric e.g. 100 for 100bps moneyness or 1 for 1% strike |
4. Adding Cap/Floor Strike Points
Under
To manually edit your volatility surface, click on

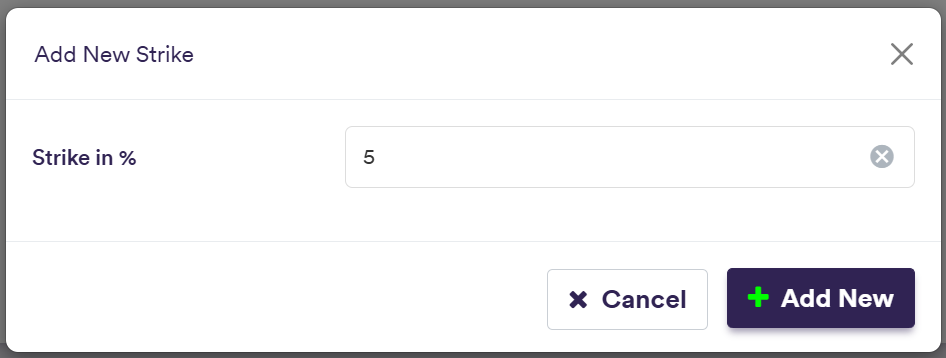
If the cap/floor volatility surface is empty, adding a new Strike (Maturity) will automatically associate it to a 1Y Maturity (or a 1% Strike).


To import cap/floor points, click on and select the relevant .CSV import file.
You can download the import file template here ![]() .
.
The import example below is performed at the volatility surface level but in practice, the cap/floor strike point import should be performed at the IR volatility surface list level (i.e. across all IR volatility surfaces).

It does not have to be a full matrix (i.e. all maturities vs. all strikes).
A description of a cap/floor strike point’s attributes and corresponding permissible values are set out in the table below.
| Field Name | Description | Permissible Values |
|---|---|---|
| Strike | The cap/floor’s strike | Numeric (e.g. 0.01) |
| Maturity | The cap/floor’s maturity | Any expiry (e.g. 3M, 10Y) |
Once all required curves have been added, you can move on to Curve Configuration